sudosonic
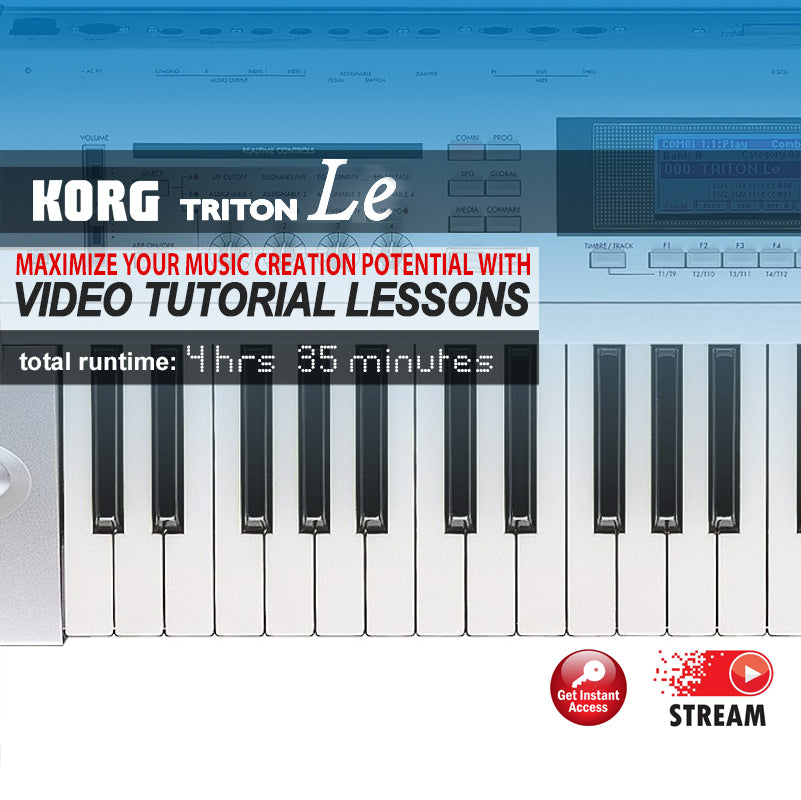
Korg Triton Le Video Tutorial
Korg Triton Le Video Tutorial
Couldn't load pickup availability
Video Tutorial for the Korg Triton Le
Total Runtime: 4hrs 34mins
Watch a video lesson from our Korg Triton LE course.
Overview
This instructional video course is for the Korg Triton Le. The videos go in-depth with the Triton more than the videos from Korg. Korg's videos cover only a limited amount of time in each mode. Our videos dig deep and explore practical and useful applications for the music creation process.
About the Author
Paul Duffey is veteran trainer of 20+ years and is a partnering founder and moderator of TritonHaven.com. He is also certified trainer and video content provider for other affiliates such as TechnicalLead.com.
Video Lesson List
Sequencing
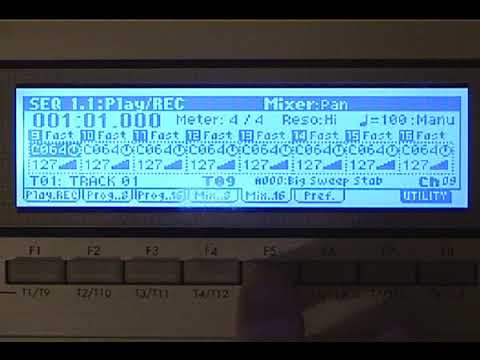
1. Exploring the Play/Rec menu (Runtime 23:37mins)
In this comprehensive tutorial Paul explains in detail the commands and settings available in the Play/Rec page of the sequencer, including realtime control options, recording preferrances/applications, and the utilities menu.
2. Recording with the Arpeggiator (Runtime 3:00mins)
Dive into recording with the Triton Le! In this video you'll learn how to easily record a dance bass riff into the sequencer using the arpeggiator.
3. Song Naming and Saving (Runtime 5:32mins)
It's easy to organize and save your work using the Triton Le. Paul explains file extensions along with how to name and save your .SNG files in the Triton Le's disk mode.
4. Track Edit Functions (Runtime 4:45mins)
Paul explains the track edit functions available in the Triton Le's sequencer. You'll use these functions to construct a song from measures, and groups of measures.
5. Recording Preferences (overdubbing/sound modulation) (Runtime 4:03mins)
Learn how to use the Triton Le's advanced recording features to record over filter controls to a pre-recorded bass line. This gives the sounds used in your tracks a very custom feel.
6. Real-time Recording a Drum Track (Runtime 3:00mins)
In this video Paul shows how to record drum tracks using the Triton Le's real-time record features. You'll get professional tips that streamline the recording process, along with making your notes on time with the beat.
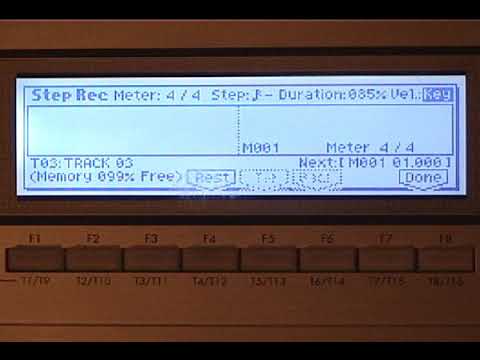
7. Step Recording (Runtime 3:02mins)
In this video Paul narrates in detail the settings and steps used to accurately record portions of a drum pattern using the Triton Le's step record feature.
8. Track Mixing/ Insert Effects (Runtime 5:30mins)
In this tutorial you'll learn how to route individual tracks to the insert effects processor. You'll also be familiarized with the mixer and gain valuable tips for adjusting levels, and recording real-time mixer adjustments into the sequencer.
9. Exploring the Master Effects (Runtime 4:58mins)
Become the master with the Triton Le's master effects processor! Discover how to setup, route, and adjust effects. You'll also get familiar with many other controls, including the 3 band master EQ.
10. Quantizing a Measure (Runtime 4:35mins)
Paul explains how to properly correct note timing with the Triton Le's quantize command. This feature is useful for pulling notes that were played in real time off beat, back into sync.
11. Explaining Patterns and the Pattern Menus (Runtime 9:58mins)
Take advantage of the Triton Le's pattern feature. Use patterns to organize and arrange your songs more quickly and easily after watching this in-depth tutorial. You'll learn every function available in the patterns section, including how to create your own patterns!
12. Arranging with Patterns (Runtime 9:39mins)
In this tutorial Paul explains in detail how to place patterns in your song to quickly construct a song arrangement. You'll also get useful tips for trouble shooting and creating songs using patterns.
13. RPPR Functions (assigning patterns and keys) (Runtime 7:00mins)
Learn everything you need to know about the Triton's RPPR (Real-time Pattern Playback and Record). With this powerful feature you can play and record patterns with just the press of one key!
14. Managing Realtime Controls (Runtime 3:02mins)
In this comprehensive tutorial you'll get a rundown of the settings and controls in the realtime controls menu of the Triton LE. Use these settings to assign many parameters to the knobs and switches on the front panel.
15. Track Parameters (assigning midi tracks) (Runtime 7:40mins)
In this tutorial Paul covers the settings available on the Track Parameter pages of the sequencer. This section controls how midi data is sent, how oscillators perform, and pitch related controls are set up.
16. Key and Velocity Zone Settings (Runtime 4:50mins)
Paul explains the many parameters in the key and velocity zone pages. You'll learn how to assign playable key ranges to tracks for breaking up the keyboard into seperate parts and also useful tips for setting up velocity zones.
17. Arpeggiator Functions (assigning arpegiators) (Runtime 7:23mins)
The Triton LE's dual arpeggiators make it one of the most versatile workstations. In this video you'll learn how to set up arpeggiators to be played, along with the many features and controls of this section.
Sound Editing
1. Defining Programs and Combis (Runtime 3:23mins)
In this tutorial Paul gives a concise and informative overview of how both Programs and Combis work together.
2. Exploring the Program Performance Editor (Runtime 5:11mins)
Learn the basic edits that can be made in the peformance editor. Also in this video Paul explains the arpeggio setup.
3. Program - Basic Edits (Runtime 8:21mins)
This lesson explains the features and controls that are available on the Edit Basic section, including selecting and setting up a multisample.
4. Program - Pitch Edits 1 (Runtime 9:49mins)
Dig deep into the Pitch Edits menus! In this video you'll learn how to assign controllers and parameters that effect the programs pitch. Also discover the very easy to use EG (envelope generator) interface that allow you to control a sound/program's pitch over time. You'll discover awesome features and settings that allow your programs to really take shape!
5. Program - Filter Types (Runtime 4:57mins)
Filters can make or break a sound. In this lesson you'll learn how to select and set up filters for edits in the filters menu. Discover how to adjusting frequency/resonance, and set up real-time controllers using AMS (alternate modulation source).
6. Program - Filters Modulation (Runtime 3:24mins)
In this tutorial you'll learn how to set up keyboard tracking to control applied filters to a program, along with controlling EG modulation intensity and modulation control.
7. Program - Filter LFO and EG Edits (Runtime 3:08mins)
Learn how to apply custom LFO (Low Frequency Ocillator) settings to your program by using this section in conjunction with the common LFO parameters.
8. Program - Filter EG Edits (Runtime 5:01mins)
Use this section to define wave forms that control applied filters to a program over time. This section is useful for creating colorful "sweeps".
9. Program - Amp Edits (Runtime 8:24mins)
This lesson covers edits that are applied to the amplitude of a program, including level adjust, modulations, EGs and LFO settings.
10. Program - Common LFO (Runtime 6:51mins)
Adjust your LFO like a pro! In this video Paul goes under the hood and explains the LFO menus. You'll learn how to adjust frequency, intensity, control sources, and sync these LFOs to BPM (tempo).
11. Program - Arpeggiator Edits (Runtime 6:35mins)
Have fun with the powerful arpgegiator of the Triton Le. Learn the available parameters and edits of applied arpeggios in program mode.
12. Program - Insert Effects (Runtime 3:26mins)
Beef up the mix and add creative dynamic effects with the Triton's insert effects processor. You'll learn selection, routing, and tweaking, along with how to bus the Triton's outputs for external effects processing.
13. Program - Master Effects/EQ (Runtime 6:17mins)
Paul explains set ups, routing, bussing, and master EQ settings that are available in the Triton Le in order to to give your programs that professional sound.
14. Saving and Managing Programs (Runtime 6:09mins)
This is a very comprehensive lesson on saving these edits that you make to your programs. You'll learn how to edit and save to different banks. Also you'll learn how to save and load these programs as a Korg .pcg file. This is an excellent lesson for those musicians who need to constantly change thier sound sets for many performances or recording set ups!
Sampling
1. Sampling Fundamentals (Runtime 3:33mins)
In this tutorial Paul gives a concise and informative overview of what samples are and how they are used in other modes in the Triton. You'll also get a better understanding of how samples work in everyday music production.
2. Preliminary and Global Settings (Runtime 4:35mins)
Learn the settings and adjustment that first must be made in global mode, and on the back panel in order to begin sampling. Paul also gives tips for connectivity optimization and impedance matching.
3. Applying Global Effects for Sampling Inputs (Runtime 4:19mins)
Discover the sampling insert effects options to route inputs through the Triton's effects processor during live playing modes (SEQ, COMBI, PROG). Use this feature to add lush effects for live jamming or accompaniment.
4. Sampling Mode Pages Overview (Runtime 8:59mins)
Paul explains in detail the available pages, tabs, and controls used in Sampling mode. This is a good overview that lays the foundation down for understanding the logical flow of creating and editing samples in the Triton.
5. Recording A Sample (Runtime 3:42mins)
Walk through step-by-step how to record a sample from an external device, such as a CD player, Musical Instrument, or another keyboard. In this tutorial you'll also learn how to use the "Auto Record" feature of the Triton for triggering sampling on time the instant an external sound is present.
6. Editing Samples (Runtime 6:39mins)
The Korg Triton's visual interface allow for quick and easy cut, copy, and paste type functions. In this tutorial Paul walks you through how to cut out the silence from your sample, and free up your available RAM.
7. Sample Loop Edits and Parameters (Runtime 2:52mins)
Paul show you how to take a raw sample and adjust start, loop start, and end points. Also you'll learn how to use the Zero feature and reverse a sample.
8. Creating A Multisample (Runtime 2:59mins)
Apply additional Multisample parameters to your project sample, and change the associated mapped samples. This is a good step for organizing very large projects that may include many samples and multisamples in a large composition.
9. Time Stretching (Runtime 5:35mins)
Adjust BPM values of a sample by stretching that sample out, or by compressing the sample. This is a handy feature for making a drum loop that was originally recorded at a different tempo match up to your current song.
10. Time Slicing (Runtime 5:10mins)
One of the most refreshing and easy to use features of any workstation to date is the Time Slicing feature. The Korg Triton allows you to take a sample loop and cut that loop into separate portions to be played to a different BPM in SEQ mode, all while not changing the pitch. Oh, by the way, did I mention this is automatic? Sweet!
11. Creating a Program (Runtime 3:07mins)
A sample can be played in a song, in Combination, and in Program mode, but did you know it has to be assigned to a multisample, then assigned to a Program first? This video explains how to assign a Multisample to a Program, and how to organize these Programs.
12. Using the Arpeggiator with Sliced Samples (Runtime 2:39mins)
Get ready to slice and import loops into a sequence track, where you can assign many different arpeggiator patterns to replay the groove of your samples. You'll learn how to add a twist to a bland sounding drum track.
13. Saving and Loading Sample Data (Runtime 7:28mins)
This is a very comprehensive lesson on saving and loading the sample data in disk mode. Navigate in disk mode and learn watch each file type is and what it does. This lesson is crucial because all of the sample data is temporarily stored in RAM and must be saved to disk in order to reload after turning off the Triton.
14. Creating a Drumkit from A Sample (Runtime 5:36mins)
Ever want to make your own drumkit from a drum loop or sample CD? Now you can! Paul guides you through the steps to create a custom drumkit in Global mode using samples recorded from a CD.
15. Assigning a Crossfade (Runtime 2:45mins)
Sometimes sampled loops have characteristics that make it tough to achieve a seamless loop. This video explains how to use the Crossfade feature to aid in seamless transitions.
16. Using the Sampling Grid (Runtime 2:19mins)
The Triton comes with many quality editing features at first seen only in desktop software. One of the most practical and easy to use features is the Grid. This tool aids in viewing and editing samples by giving you a reference based on the BPM of a loop.
Share
